My mom is super duper in love with plants specially orchids, so when she learned about the Orchids Show in Quezon City Circle, we just have to go! I also want to know if Phalaenopsis Orchids In Quezon City Circle is really cheaper than anywhere else.
Phalaenopsis Orchids In Quezon City Circle
I bought my first Phalaenopsis Orchids in Cubao and it was 750 Pesos. I got it last February 2017 and the flowers lasted for 3 months. Sadly, no flowers again since then.
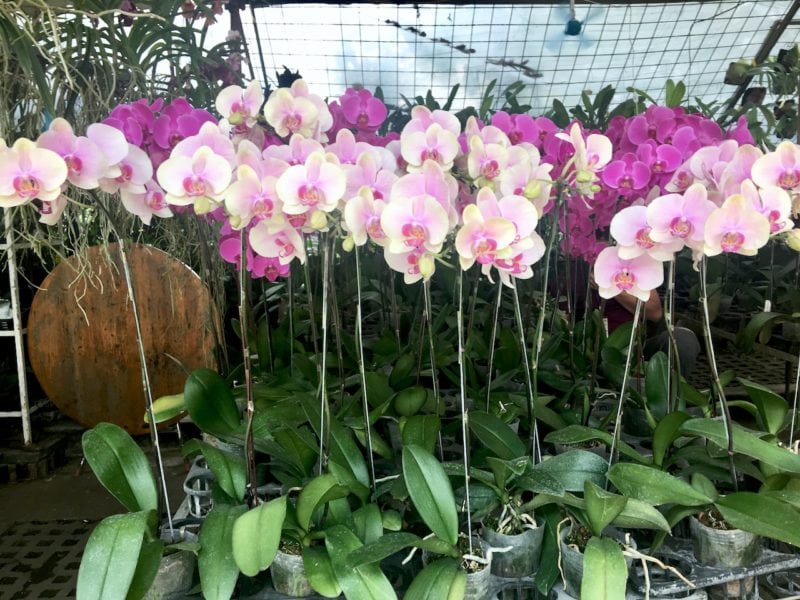
Phalaenopsis Orchids is also known as Moth orchids. When I was younger, my mother used to call this as butterfly orchids. It has become one of the most potted orchids because it is easy to propagate and in most cases, flowering is easy too. It’s a very popular indoor plan specially because the flowers can last for months. And not to mention, the flowers are really beautiful.
It’s a dream for me to won a few Phalaenopsis Orchids and when I asked how much the price in Megamall flowershops, I was discouraged. Price range of Phalaenopsis Orchids in malls are 1000 pesos and up!
I am glad we found a cheaper in Cubao Farmers but was amazed at how cheaper it can get in Quezon City Circle. Phalaenopsis Orchids In Quezon City Circle price is only 650 Pesos per pot with flowers. During our visit in Tabang, they don’t sell moth orchids.

Phalaenopsis Orchids comes in different colors but my most favorite is the white Phalaenopsis. I am also hoping to own the smaller variety or dwarf Phalaenopsis Orchids.


